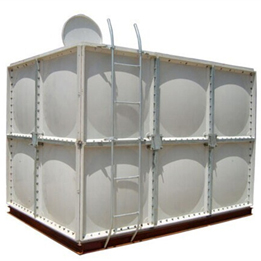
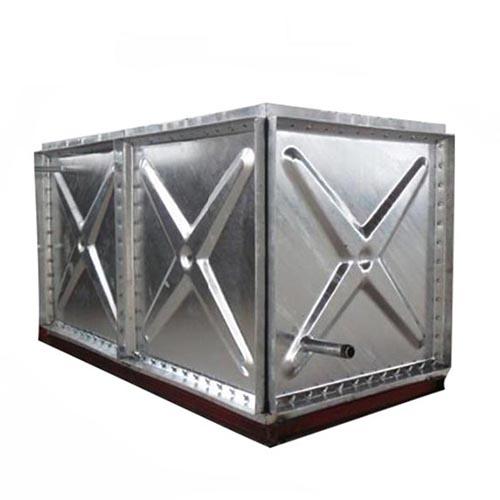
When setting up a GRP (Glass Reinforced Plastic) water tank, careful preparation and thought are crucial to ensure a smooth and long-lasting installation.
Site selection and preparation:
Choosing the right location for your fiberglass tank is crucial to ensuring a smooth installation. Factors to consider include ease of access, proximity to water, and the need for a solid, flat foundation. Assess the area for obstructions such as trees, utility lines, or buildings that could impede the installation process or ongoing maintenance tasks.
Prepare the site by removing any debris, rocks, or sharp objects that could cause potential harm to the tank. Make sure the floor is properly leveled to avoid inclines or uneven weight distribution. Also, make sure you have an adequate drainage plan in place to prevent water from pooling near the tank.
Dimensions and capacity:
Determining the right size and capacity for your fiberglass water tank is critical to meeting your unique water storage needs. Consider aspects such as water consumption, existing space and potential expansion needs. Seek advice from experts or consult industry advice to calculate necessary capacity, taking into account variables such as population, usage trends and any applicable regulations.

Fiberglass Water Tank Installation Steps
Step 1
First, level the surface of the cement foundation so that it is on the same plane. The error should not exceed ±0.5cm.
Step 2
Welded channel steel: Welded channel steel according to the size of the water tank, and its size is consistent with the bottom size of the water tank. After the channel steel is welded, measure
Diagonal dimensions, error ±0.5cm, all welds should be connected evenly, and the rows of seams should be consistent.
Step 3
Install the bottom plate: Connect the water tank according to the layout of the water tank bottom plate. The numbers and instructions are printed on the single board of the water tank. Add a sealing strip between the two single boards and connect them with ¢10 bolts. Keep the bottom plate tightly sealed. When applying bolts, apply force evenly in one stroke. Each bolt should be used 3-4 times.
Do not use too much force at one time, otherwise the board will break due to uneven stress.

Step 4
Use fixed angle iron to connect the bottom plate and channel steel to make a water tank, and the body will be more firmly fixed on the channel steel foundation.
Step 5
Installation status: According to the numbers and instructions printed on the water tank single board, find out the status numbers of each layer of the water tank body, separate them in advance, and assemble them.
State body with bolts. Place the water tank plate vertically and align it so that the top plate is at a 90-degree angle to the bottom plate alignment plate, add sealing strips and tighten the bolts.
Step 6
Install inner supports: Find the number and length of inner supports based on the size of the water tank. Use the lace plate to measure the tightening position of the lace strips, draw, punch, align and tighten them so that there is a large error between the lace strips. The size of the error can be adjusted by adjusting the tightening of the bolts until the error is adjusted to the minimum.
Step 7
Install the cover: Finally, install the water tank top cover and tighten the bolts evenly without using too much or too little force. After adjusting all the fasteners of the water tank, drill holes as required, open the water pipe according to the drawing, and install the flange connection valve.
Step 8
After all water tanks are installed, they should be inspected and adjusted uniformly, and tested to ensure they are qualified if they do not leak.


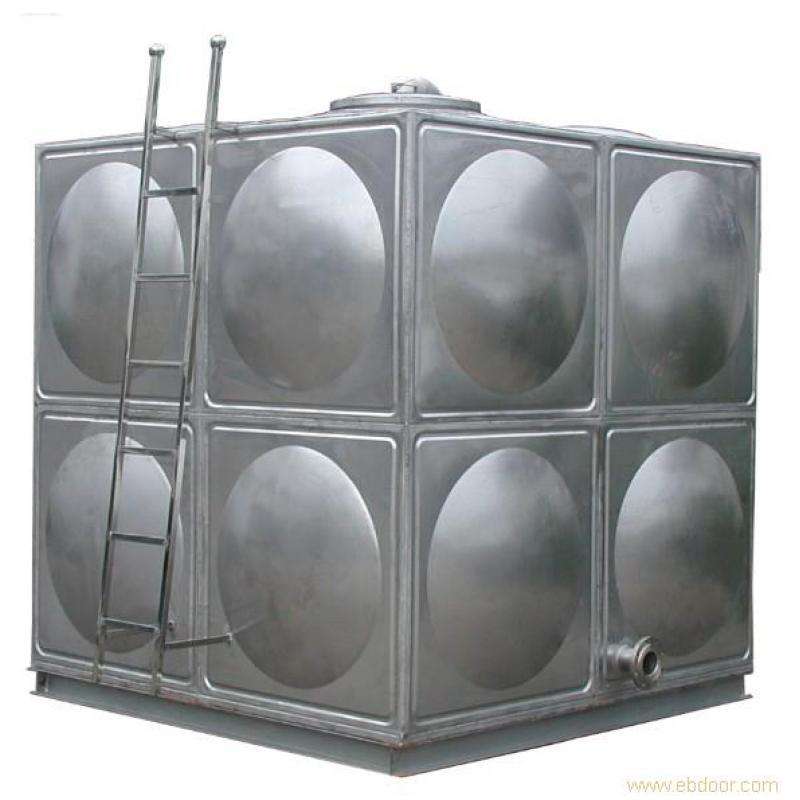
Hot Water Tanks
related posts