How to Repair a Leaking Stainless Steel Water Tank ( Step-By-Step Case Study )

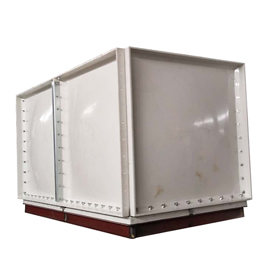
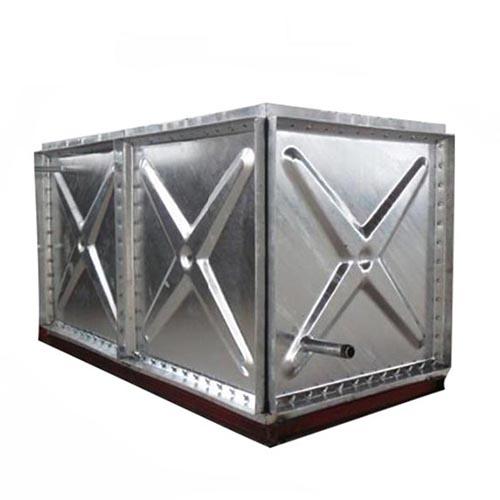
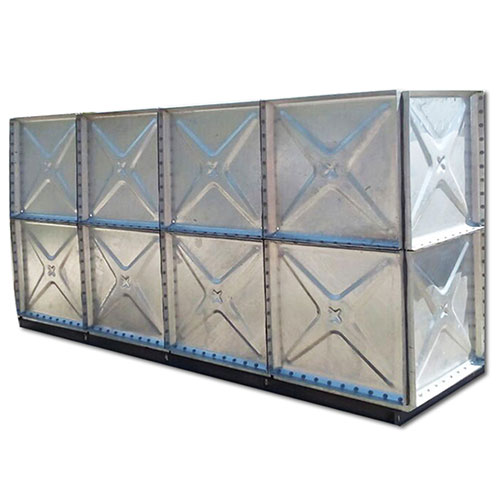
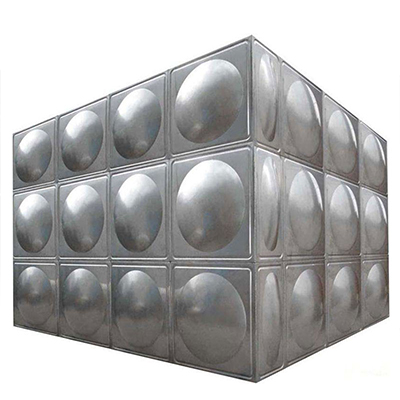
Stainless steel is a metal mostly branded for its high resistance to rusting and corrosion.  A stainless steel water tank as a result is a quality tank that stands out because of its durability. As its name suggests; the tank is strongly constructed and does not stain easily.

Nonetheless, this does not mean that the tank cannot be damaged whatsoever. While it has a great ability to withstand harsh conditions, it can be damaged, just like any other steel material.

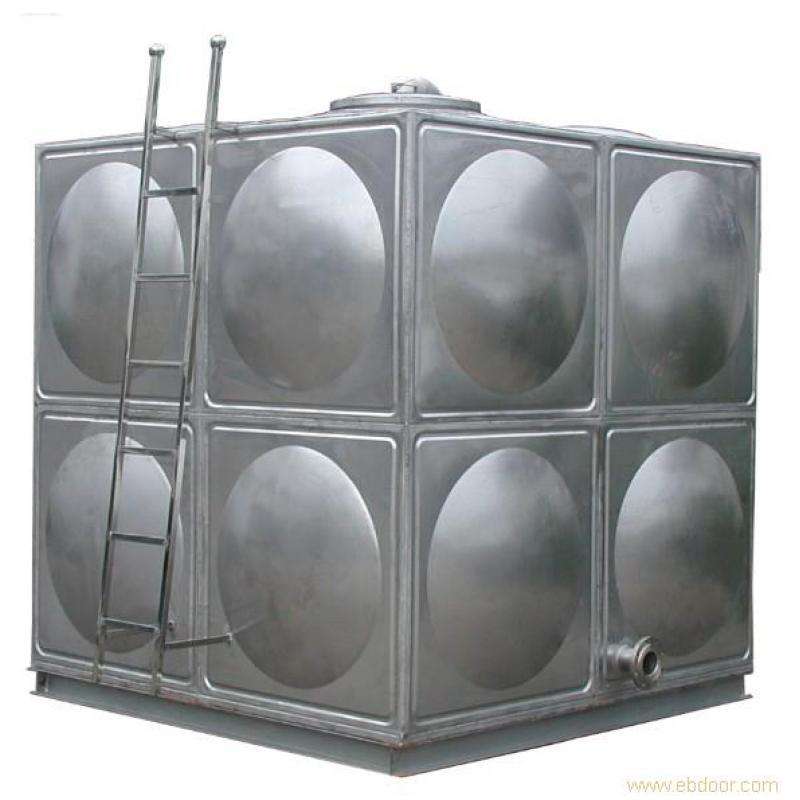
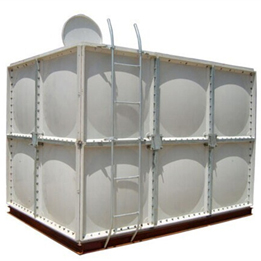
Normally we spend some time to attend to and prepare most of our damaged items and appliances in our homes. Sometimes this makes as busy, but a steel tank that is leaking demands immediate attendance.

The moment you stay long without preparing a leaking tank, you will be definitely wasting a lot of water. Also you will waste some opportunities of collecting water. It is therefore important to prepare your tank the moment you realize it is leaking.

The tank that is leaking will not collect a lot of water. And if you leave a leaking tank without attending to it, the hole will continue to grow bigger hence lose a lot of water. The following guidelines will help you to repair your leaking tank.

  //  Gathering equipment

To repair your leaking stainless steel tank, you need certain tools. These tools will make your work easier and smart. Gloves are some of the most important tools that you need to make it successful. You will wear them to prevent your hands from getting infected with solution or injuring yourself from the damaged hole.

Face mask is also important because it makes it easy to repair your leaking tank without damaging your eyes. Ketone solution is also required together with resin compound for better repair. You also need shop vacuum cleaner to clean the tank before and after repairing it.

  //  Preparation

Before you prepare yourself to repair your leaking tank, you need to ensure that you have prepared yourself well;

Ensure that you drain all the water from the tank

Wear your gloves

Put on the face mask and ensure you see everything rightly

Prepare the ketone solution to be used in the process

Ensure that you have available the resin compound

Prepare and bring the shop vacuum cleaner

Check that every tool you may need is available

Step One  //  Drain and dry the tank

First, empty the tank. This is very important since it will allow you to access the inside of the tank entirely. It will also ensure that you do not contaminate the contents which may be drinking water.

To drain the tank, open the tap at the bottom of the tank and connect the hose and pipes to easily direct the water to the place you want it to be drained to. Ensure that this water is not drained to the near place where it will cause erosion.

After this, allow the tank to dry completely to make fixing more effective. A shop vacuum may also be used to dry the tank by sacking the remaining water.

Step Two  //  Remove the connection fillings

After draining and drying the tank, disconnect all the connection fillings and plugs from the tank. This adds onto its accessibility.

Identify all the leaking holes and wad them with a duster or cloth. This will prevent the holes from closing and enables you to locate all the holes during repairing without missing any.

Step Three  //  Fix the holes using compounds

There are so many compounds in market that can be used to seal the holes on a leaking tank. Nevertheless, not all the compounds and solutions are efficient. In fact, if you are not careful, you will keep repairing the same hole so many times.

Preparing the tank all the time is actually expensive and time consuming. Therefore it is important to ensure that you get the best resin compound from the market so that you wont be preparing your tank all the time.

Use a garden sprayer to spray the leaking part on the inside. Take the resin compound and ensure that it is well packed. Resin compound is gluey and combustible. It works perfectly for stainless steel materials.

Mix the compound with a Ketone solution. However, in most cases, the two are purchased mixed already. After some time, the solution may start hardening. This is solved by adding a small amount of acetone.

Spray the mixed compound around the holes well and ensure that every hole is closed. Check around the holes to see if it is correctly sealed. You can again repeat the process by spraying on the holes again for better repair.

When spraying, use gloves and face mask to prevent skin contact with the solution which may take a longer time to remove. Additionally, avoid inhaling the compounds as much as possible as this pauses health problems.

Step Four  //  Dry the tank

Leave the tank to dry for not less than 72 hours. This allows ketone solution to evaporate leaving behind resin repair compound.  After 72 hours, the tank is safe for use. In fact, it can be used even for drinking water.

Reconnect the connection filings that had been prior removed and take it back to its place. Put some water inside to test and see if the tank was repaired well. Drain the water again and let it dry for the next use.

Final Verdict

As a matter of fact, a leaking tank is one of most people's worst nightmare. Whether it is at home or work place, it is seen as very stressing and unmanageable. Conversely, this is true when the repair is done wrongly or with the wrong compounds, glues and solutions.

As a result, there are so many questions surrounding repairing a leaking stainless steel tank without damaging it and affordably.

Nonetheless, as seen above, it is easy to repair and actually this task is not involving. When repaired with the right compounds the stainless steel tank will on no account leak in the same place again. If your Galvanized Pressed Steel Water Tank, you can learn other solutions.

Atanistank
Atanistank cultivates, curates and shares water stories,tips and guides, to help others achieve an excellent life.

Customer Comments

Copyright © 2018 Atanis water tank Co., Ltd - All Rights Reserved Real Time Analytics
Real Time Analytics