Step One // Installation of based channel steel
To put the channel steel in lengthways first, and then put the transverse steel. Connecting them in 90º by nuts and channel plate. In the layup of longitudinal channel steel, it needs another junction plate, which connected with 90º junction plate by nuts. After all the bolts have been installed, we need to check the fundamental diagonals are installed correctly, and then tightening the bolts.
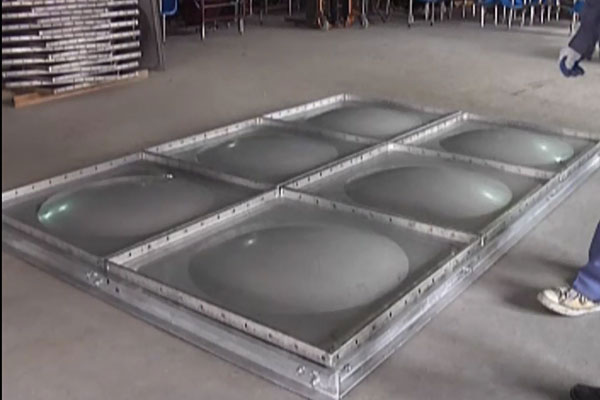
Step Two // Installation of baseboard
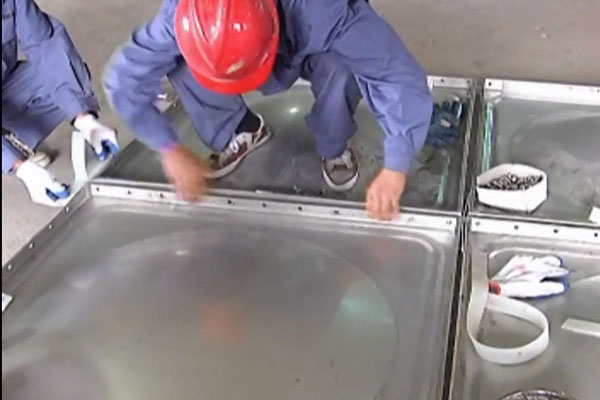
Spotting the plate with outlet first according to the blueprint. And then put all the plates in their location. Take out bolts and silicone pad. The straight glue cushion should been put between the two plates, what's more, to put different shape of glue cushion in different parts. Between two plates is straight glue cushion, on the 90º juncture of for plates should be cruciform glue cushion. On the joint of plates and steel angle, we must use trilateral straight glue cushion. Junction of two steel angles and plates is T-shape corner pads. On the connect position of three sides, it needs to use corner shaped glue cushion. The following is the same way.
After all the baseboards have been installed, we should check all the connect positions, and then start installation of side plates. (methods of tightening the bolts of baseboard: putting the lengthways bolts to its entrance, screw on a nut, remember that do not screw down it at once, to leave a space in 4mm, and tightening the transverse bolts in one time. Next, tightening the lengthways bolts. Finally, tightening all the steel angle bolts around water tank )
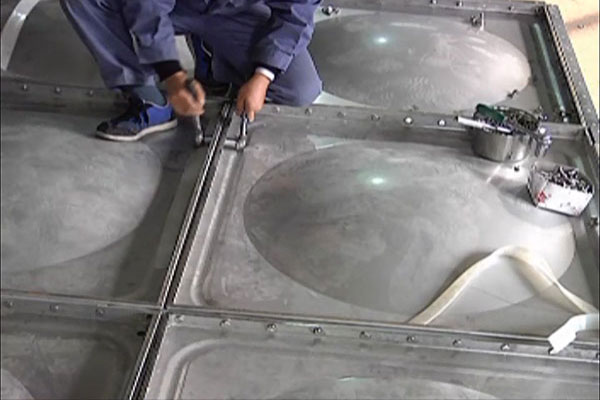
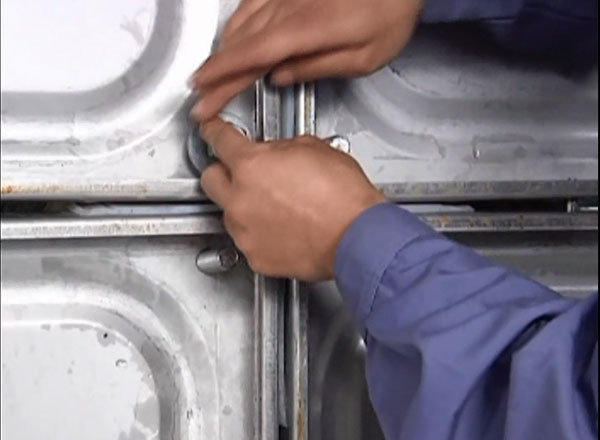
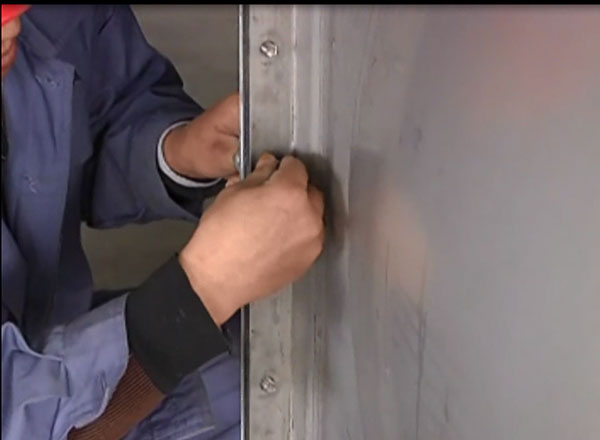
Step Three // Installation of side plates
According to the blueprint, spotting the plate with tubing first, to start the installation from the bottom, taking the same way of installing the baseboards. After the first stage is finished, tightening the bolts of the connection of baseboards and side plates.
step 1: Installation of based channel steel
step 2-1: Installation of baseboard
step 2-2: Installation of baseboard
step 3: Installation of side plates
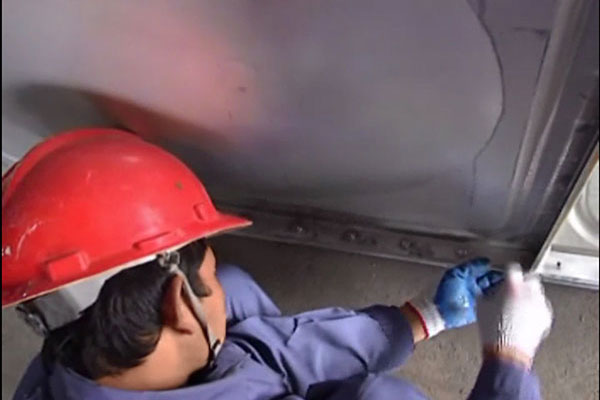
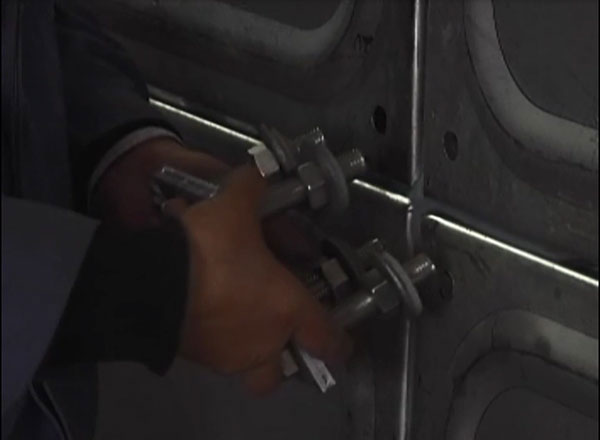
Step Four // The second stage installation of side plate
Installing the second stage plate on the first stage, its assembly method is same as the first stage. The third and forth stage taking the same way too. (ways to tight the bolts on the side plates: tightening the bolts on the perpends first, and pause to screwing when the bolts are screwed to the gap of the template about 4mm, Then tighten the transverse seam bolts. After tightening the transverse seams, tighten the vertical seam bolts. Finally, tighten the bolts between the template and the angle steels. )
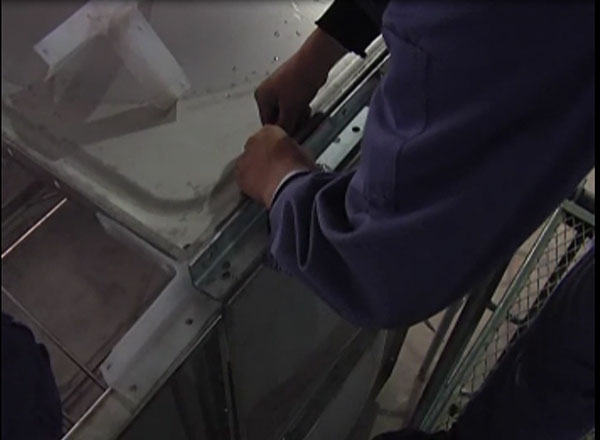
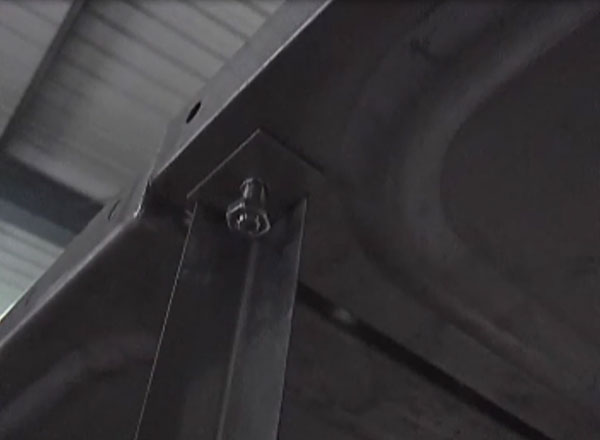
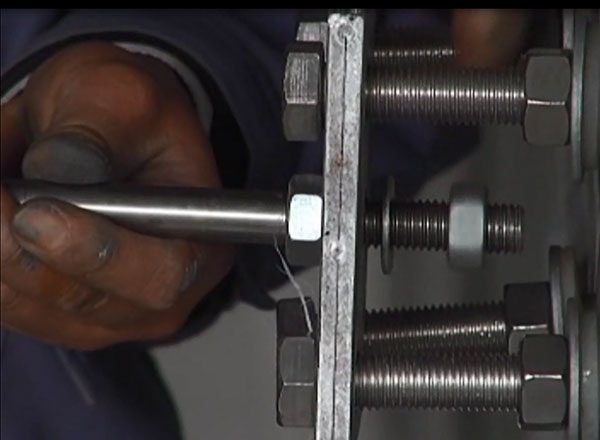
Step Five // Tiepiece installation
To make a tiepiece support points between the two sections of the side plates and the junctions of the four plates, taking out the tiepiece connection plates, and insert four m16*100 bolts on the connection plate. Installing a nut on the bolts first after passing through the connection plate. And then install a diameter of 42 flat mat, after that, to install the seal pad. While assembling four bolts, through them out of side plate of the tank wall, four bolts on the tank wall were installed sealing gasket, then the diameter of 42 flat pad installed, and finally install the nut. Screw the nut to the outer end of the bolt about 15mm directly.
After the connection plate is fixed, to set the length of the tiepiece according to the length the width of the tank. Then let the connected tiepiece through the connection plate, screw the nut in the connection plate, and finally tighten the bolt.
step 4-1: Installation of side plate
step 4-2: Installation of side plate
step 5-1:Tiepiece installation

step 5-2: Tiepiece installation
Step Six // how to install a roof of stainless steel water tank
Firstly, position the manhole plate according to the position shown in the blueprint, and then install the other tank plates. The assembly method is: install a plate, put on the bolt, padded the seal gasket, tighten the nut, and then install next piece, to equip a vertical tiepiece in every cross of four plates. The length of the tiepiece equals the height of the tank.
step 6-1: Install a roof of stainless steel water tank
step 6-2: Install a roof of stainless steel water tank
step 6-3: Install a roof of stainless steel water tank
step 6-4: Install a roof of stainless steel water tank
Step Seven // Escalators assembly
The inner and outer escalators are all assembled at the closest position of the manhole template. The linking method is to connect the bolts reserved on the escalator with the bolts of the side plates, and then tighten the nuts.
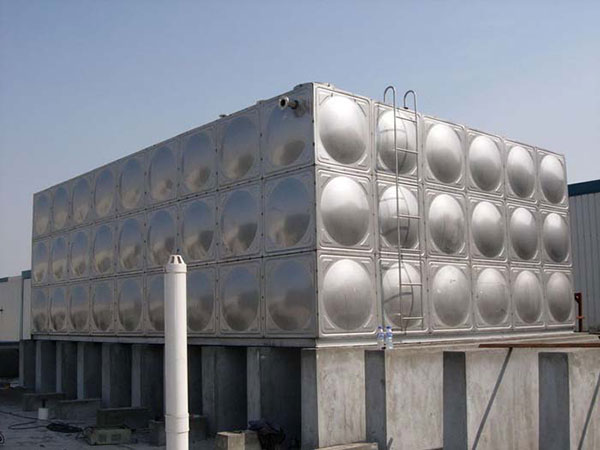
After the whole water tank is assembled, to check the vertical and horizontal deviations of the tank eyeballing or with a spirit level, and make corrections and adjustments in accordance with specific conditions.
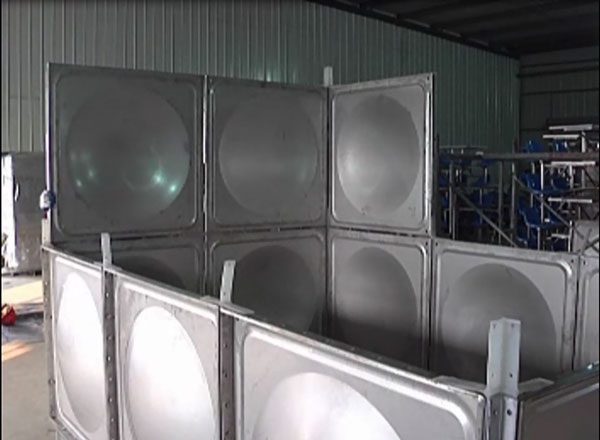
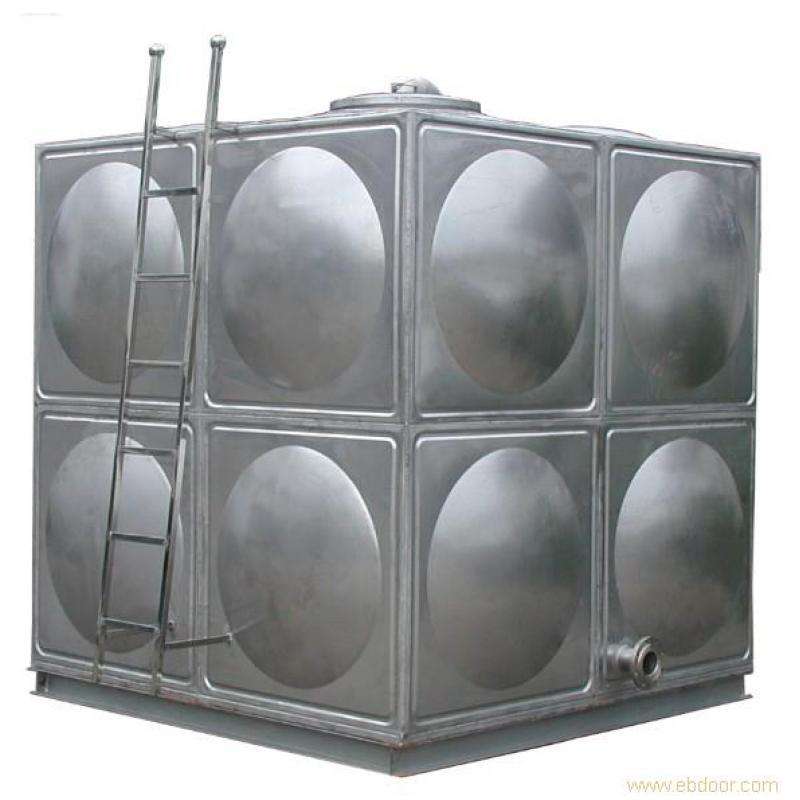
So far, the brilliant SS316 water tanks. has been installed. It fully demonstrated the smoothness and brilliance of the stainless steel products and told you vividly that the water tank can be done like this.

Hot Water Tanks
related posts